I can’t say if what I’m doing now qualifies as index card art, because I didn’t use any actual index cards. I found they don’t take paint and glue so well—they tend to curl up. So first I bought the box, and then I determined the size of the cards I wanted to make. I decided on 6”x4”. Then I pre-painted a couple of large sheets of watercolor paper, and measured them out.
A little background info on my skills: When I was in high school my art teacher taught us how to cut our own matts. Later on in life, I became a paste-up artist and a typesetter. This was all during the Dark Ages before computers. We literally cut and pasted in those days. So I am not at all shy around an Exacto knife.
I wound up with eight perfect cards, ready to decorate.
I managed to decorate two cards today. I’m not very good with stamping, but I did want to do some words.
I tore bits and pieces and modpodged the whole thing down. I ironed it twice because curly makes me crazy.
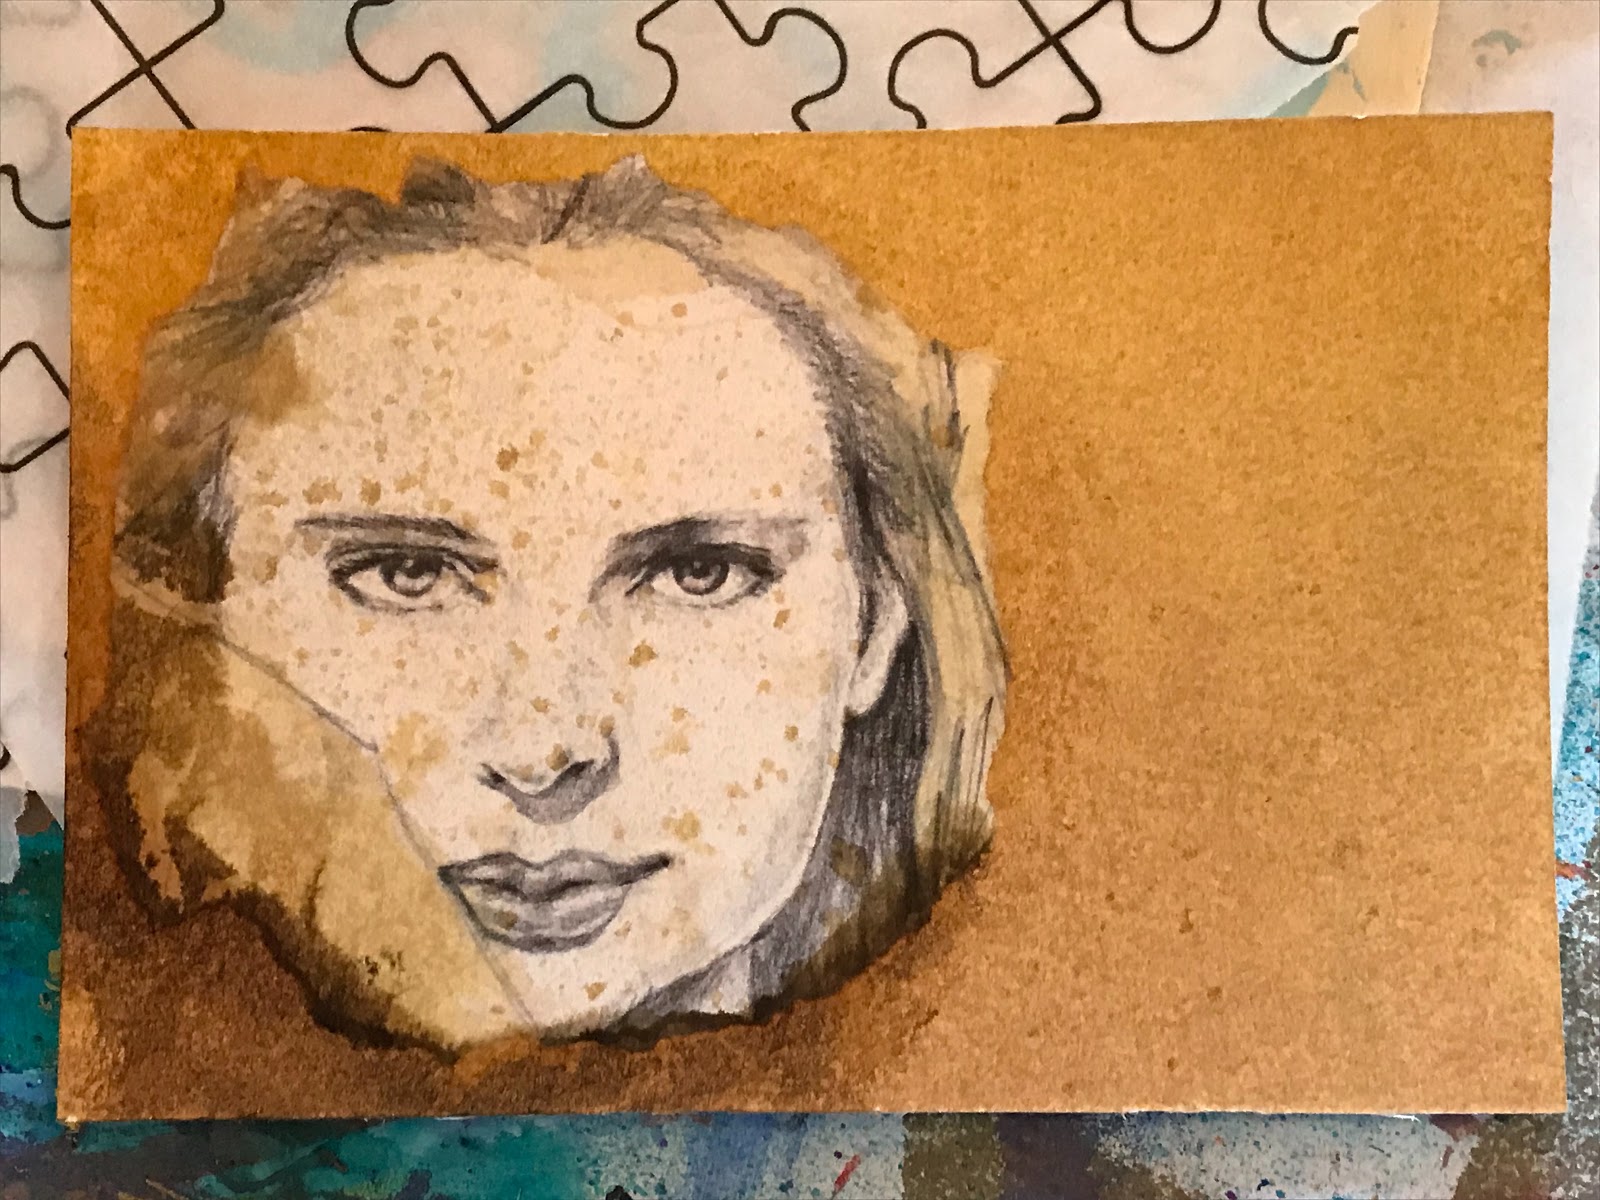
Here I found stumbled upon a picture of yours truly that I had photoshopped for a forgotten project. It was the perfect size.
So there. My first two index cards, and a third is on its way.